This tutorial will show a basic functionality of the Materials and an example to apply effects on a sprite.
The first thing is understand what is a Material. A Material is an asset that can be applied to a mesh to control the visual look of the scene, or using a simple concept is like the “paint” that is applied to an object. You can define its color, how shiny it is, whether you can see through the object, and much more.

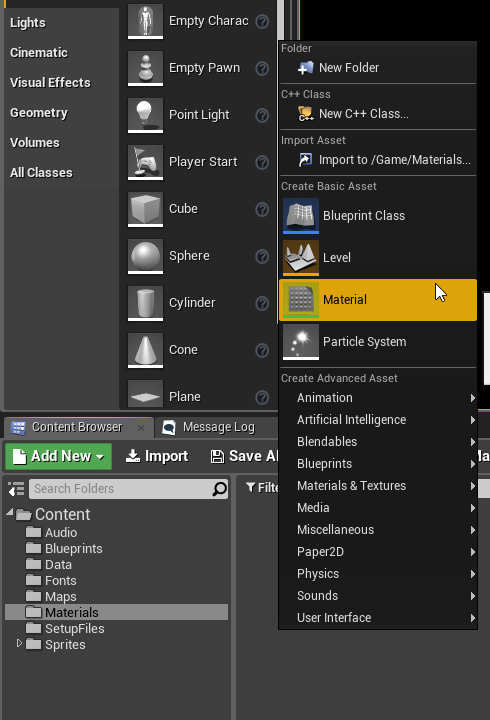
To create a Material we will go to our Materials folder and using the contextual menu choose Material
Using double click over the Material we will open the Material Editor.
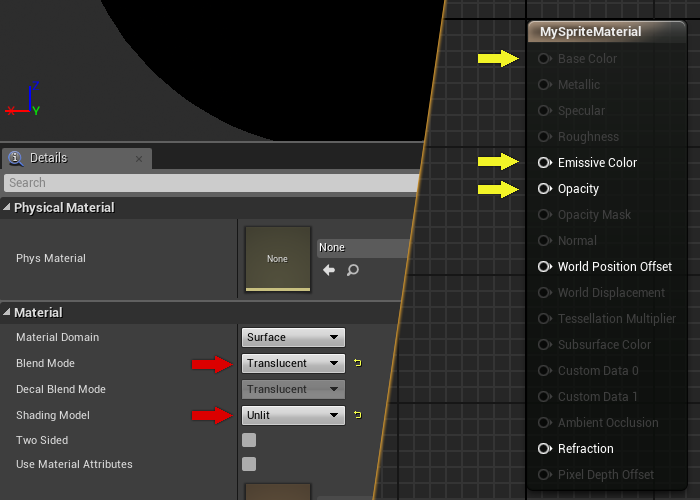
In the Material section of the Details tab we can choose the material properties, depending on witch one we choose we will activate/deactivate options in the result node.
In this example we will work with 2D sprites and no lights so we will choose:
- Surface
- Translucent
- Unlit
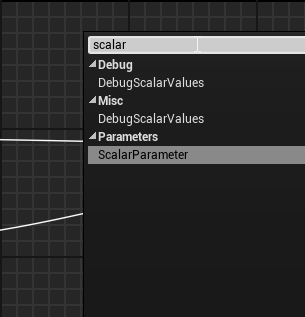
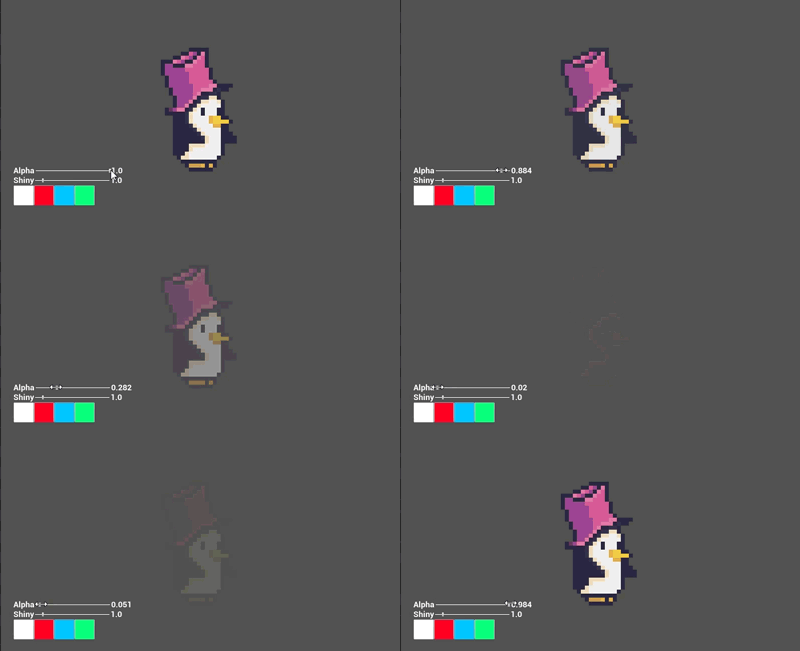
We can add input parameters, like in a programming function, to parameterize the material functionally. We will add two scalar parameters to control the sprite alpha level and the brightness level, using the right click contextual menu.
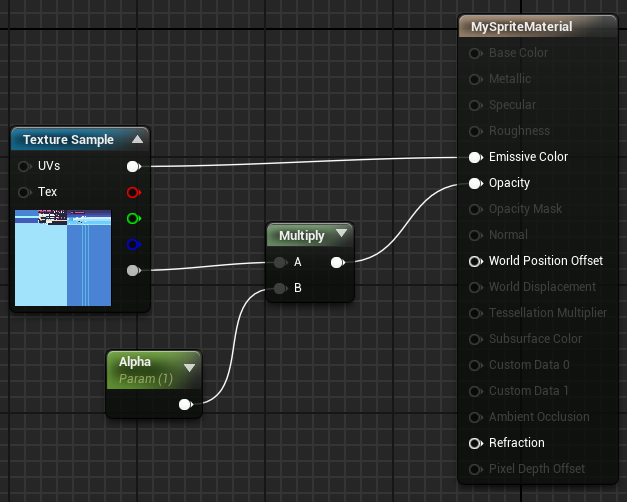
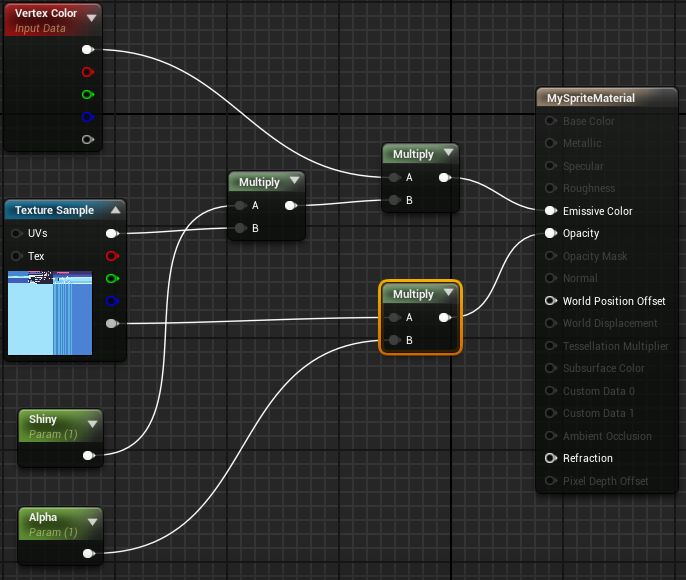
The alpha texture must be multiplied by our alpha scalar to be reduced in percentage and connected it the Opacity output of the material. The Texture sample can be added using the contextual menu too.
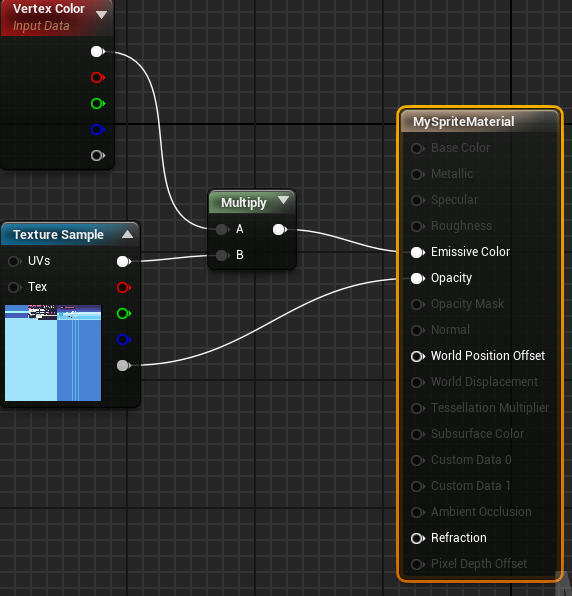
If we want to use the Sprite color option in our material we must add a Vertex Color node and multiply the texture sample color
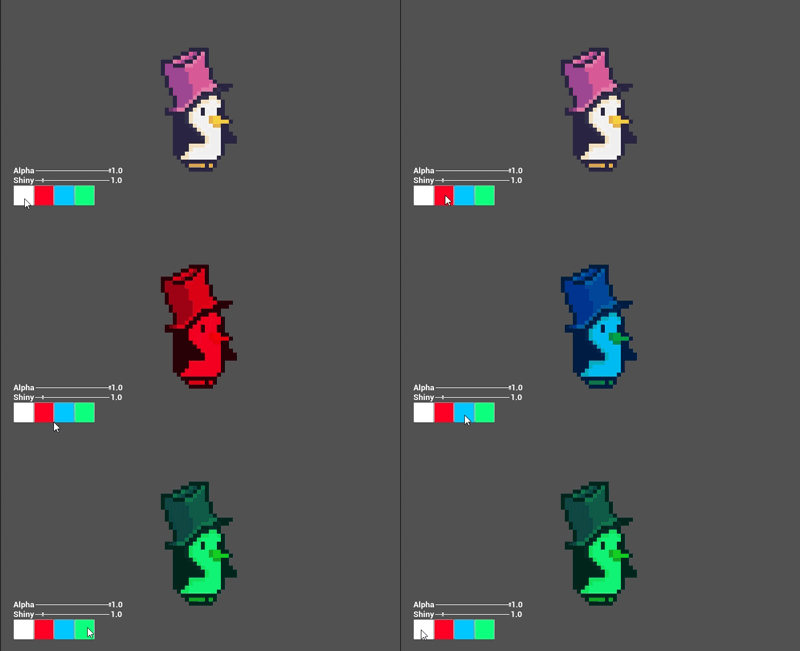
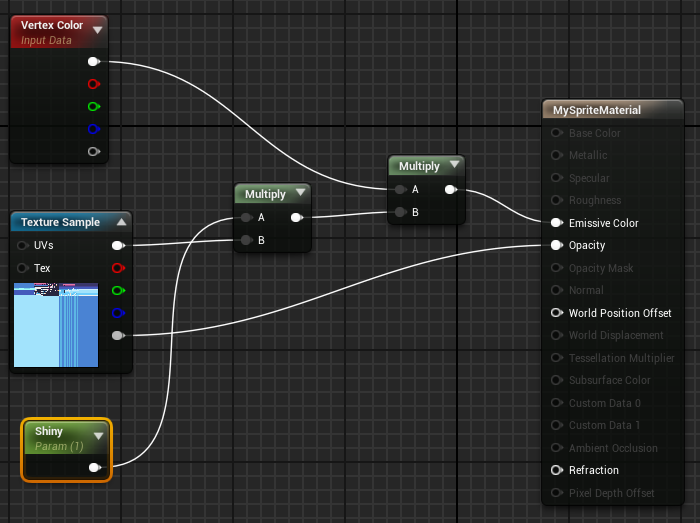
Our last parameter will change the brightness level of the sprite, we will connect it to the emissive color material output, so it will be connected to the sprite color parameter too.
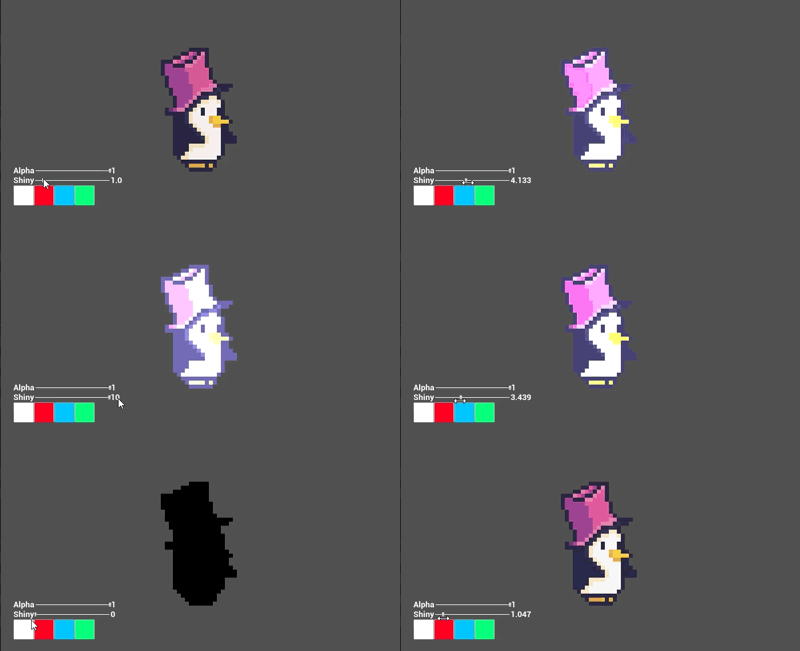
Now we can put all parameters together
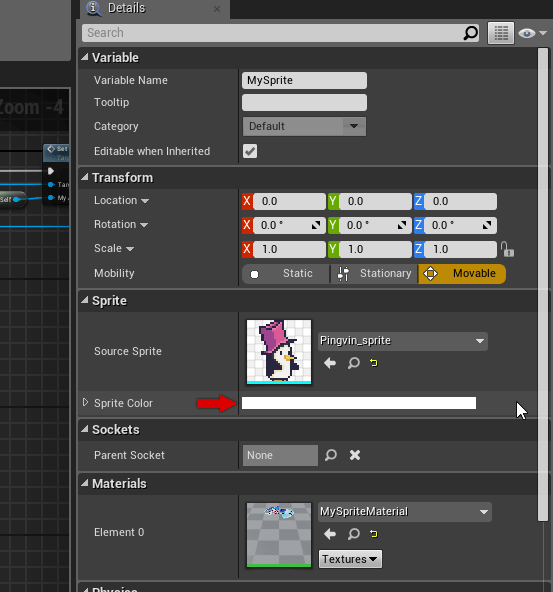
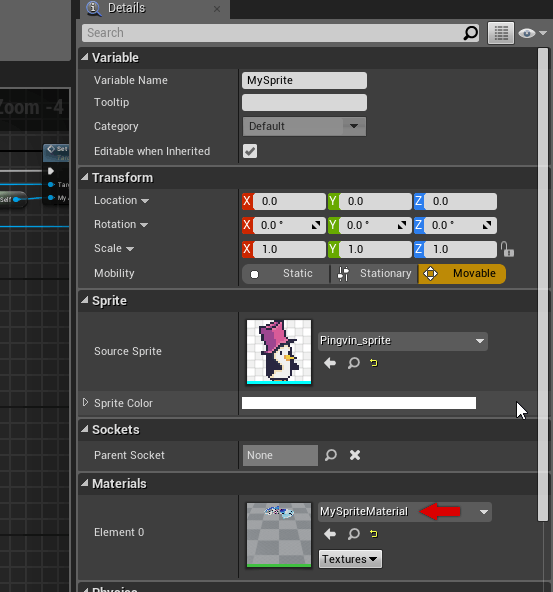
To use our material we must select it in the material section of our sprite details
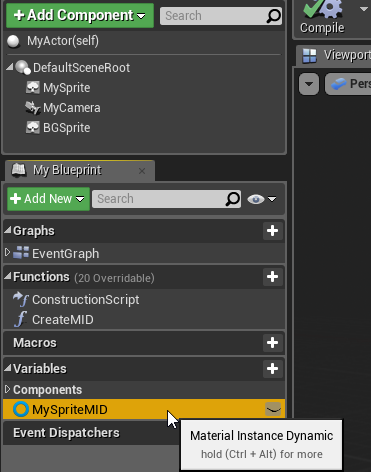
Now to be able to change the parameters in runtime we need to create a variable of type Material Instance Dynamic in our actor.
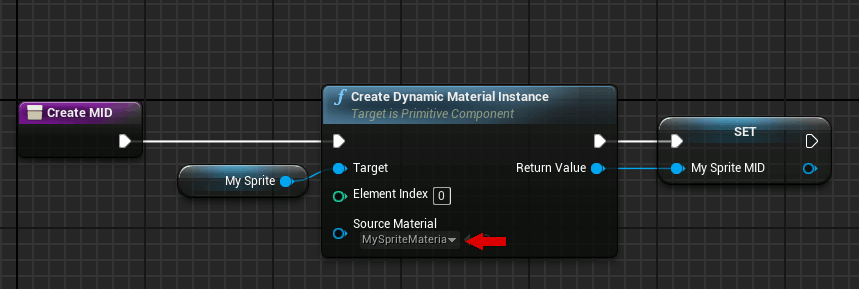
Before we can use it we need to initialize the MID using the Create Dynamic Material Instance function and set the output to our variable. Dont forget to select our material in the Source Material field.
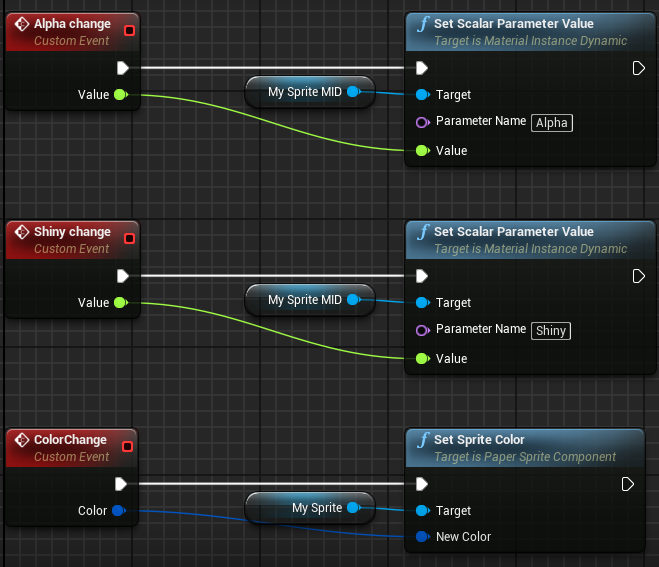
Now we can change the material intance values on runtine using the Set Scalar Parameter Value funtion, we are setting only scalar parameters in this example, with the name asignated during the material parameter creation.
You can combine the parameters to do different effects like a red blink when the player receive any damage or an alpha blink during player invulnerable state. You can replicate all the effects of the old school games using Materials in your games.
You may also like:
Support this blog!
For the past year we have been dedicating more of our time to the creation of tutorials, mainly about game development. If you think these posts have either helped or inspired you, please consider supporting this blog. Thank you so much for your contribution!

