With this tutorial we are going to learn how to apply Post process Effects to the scene. We are going to adapt one of the materials used in a previous tutorial Transition effects using materials to be able to use it with a post process volume and view the effect in all the scene.
Post-processing is the process of applying full-screen filters and effects to a camera’s image buffer before it is displayed to screen. Can be used to improve the visuals like the Anti-aliasing effect or to apply a distortion like the motion blur effect of some racing games, or even to add more details like an Outline effect.
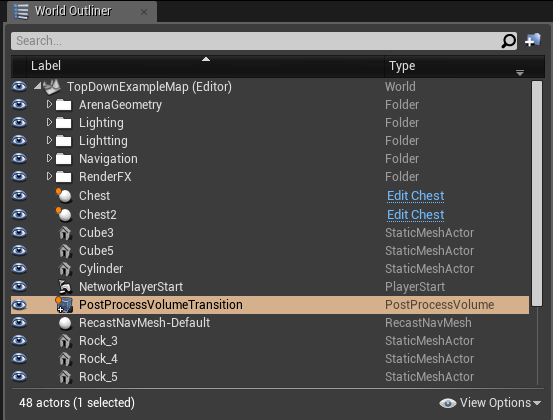
To use the post-processing in our level we need to add a post processing volume to the level map, can be found in the Modes tab

Now we can see that the volume appears as a child of our level map
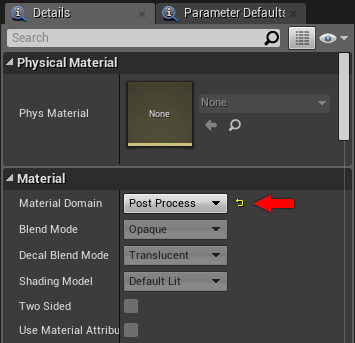
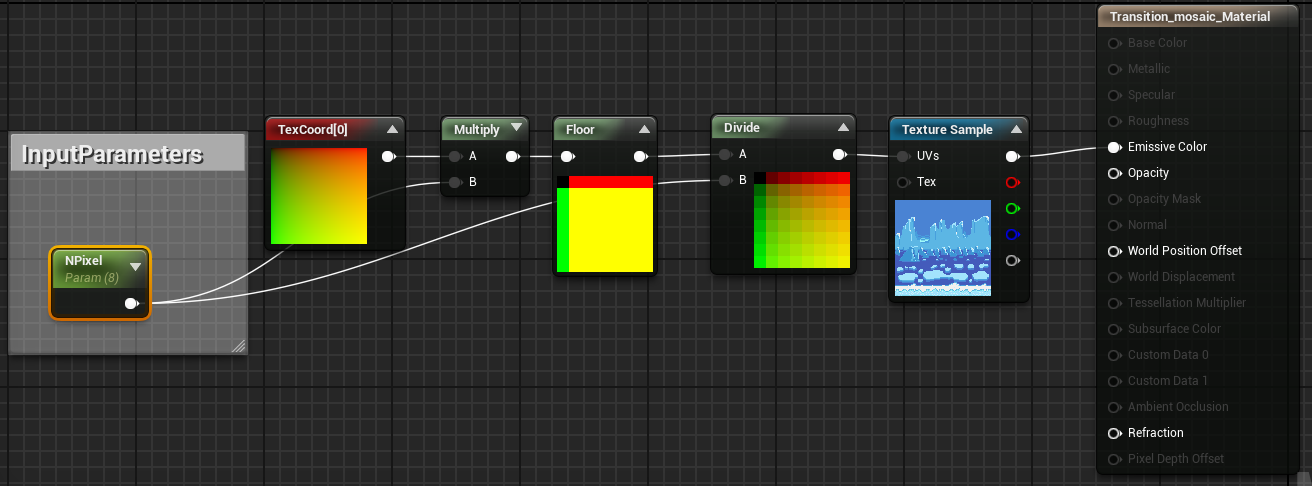
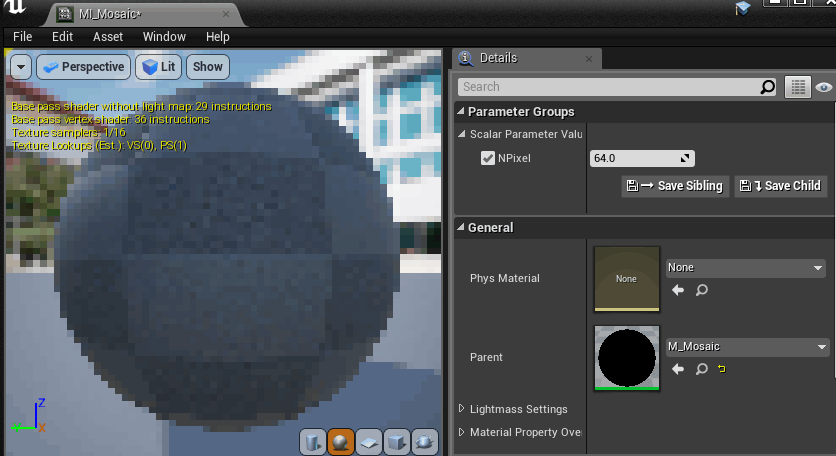
Now we need to create the material effect. We are going to modify the mosaic effect material of a previous tutorial. Don’t forget to change the material domain to Post Process in the material Details tab.
To convert the previous material into a post process material we need to change the Texture sample node with a SceneTexture: PostprocessInput node

This modification can be applied to other materials of the transitions tutorial like the wave distortion or the moving stripes.
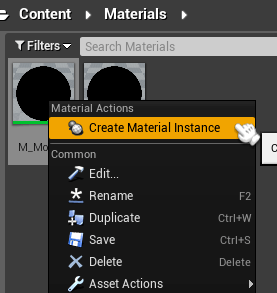
Now we can create a Material Instance and add it to the Post Process Volume to see the effect. Right click on the material and Create Material Instance
Define the parameters of the material for this instance.
Now we can add this instance to the materials of the post process volume
Select the Post Process Volume, in the Rendering Features section, add the Material Instance to the Post Process Materials Array. As you can see we can add multiple materials to be applied at the same time and define for each one a weight value to obtain a blending effect result.
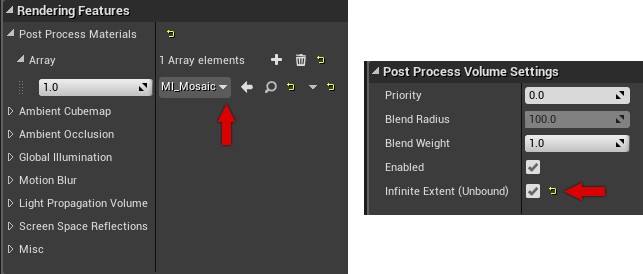
To apply the post process to all the scene we need to check the Infinite Extent option

Dynamic Post Process Effect
Now we have a working PPVolume, but what we need to do to modify the value of the effect at runtime. We can Enable and Disable the Post Process Volume setting their bEnable value, but we can modify the material instance dynamically to obtain the intermediate effects too.
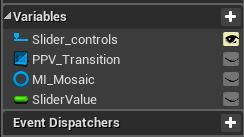
For this example we are going to create a Widget with a Slider control to set the Material Instance Dynamic values. This widget contains a Post Process Volume Reference and a Material Instance Dynamic.
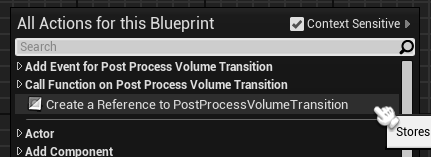
We need to pass the reference of our PPVolume to the widget control, so we must select the Post Process Volume Object of the map and right click in the Level Blueprint. Now we can see the option to Create a Reference to the volume

Now we can pass the reference in our Widget Initialization node
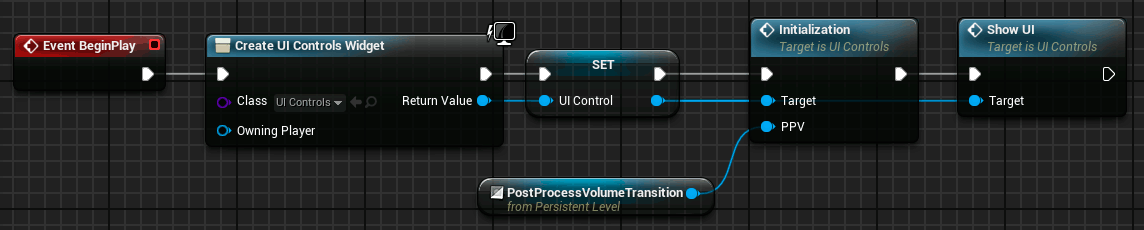
This control Widget must create the Material Instance Dynamic of our Mosaic material and store a reference.

Now we can Set the Array of materials of the Post Process Volume dynamically in this initialization, we can overwrite their settings with our material instance array

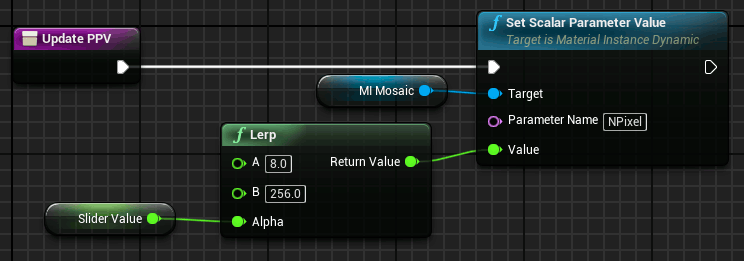
To change the value of the material at runtime we only need to set the scalar parameter value of our material input parameter.
Finally the Slider logic. When it reach the right side we want to disable all the PPV effect.

Now we have a dynamic post process effect to do level transitions.

Tutorial files
You may also like:
Support this blog!
For the past year we have been dedicating more of our time to the creation of tutorials, mainly about game development. If you think these posts have either helped or inspired you, please consider supporting this blog. Thank you so much for your contribution!


