With the version 4.17 of UE4 we can use 3 types of containers with blueprints: TArray, TSet and TMap. Each of them correspond to c++ vector, set and map respectively.
In this tutorial we will explain how to add other c++ containers for using it with blueprints.
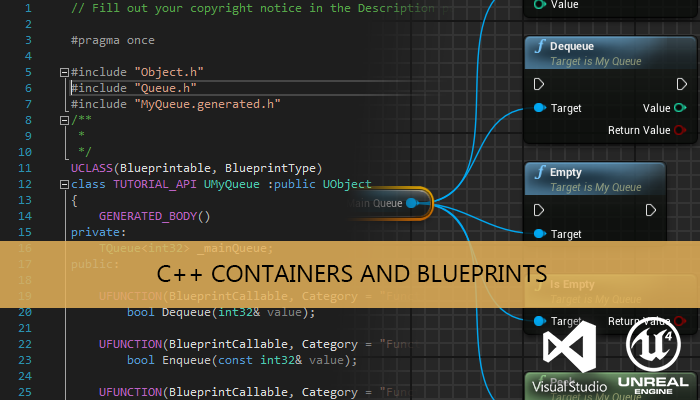
Unreal Engine 4 has three containers that can be used in Blueprints variables TArray, TSet and TMap, but also has more custom c++ container implementations only accesible by c++ code like TQueue, TList, TCircularBuffers. We will make a wrapper class to be able to use this classes in Blueprint, and an example of how to use this containers in a Blueprint.
We can start with TQueue. TQueue is a template for c++ queues. Only has five important functions:
- Dequeue: Removes and returns the item from the tail of the queue.
- Enqueue: Adds an item to the head of the queue.
- Peek: Peeks at the queue’s tail item without removing it.
- IsEmpty: Checks whether the queue is empty.
- Empty: Empty the queue, discarding all items.

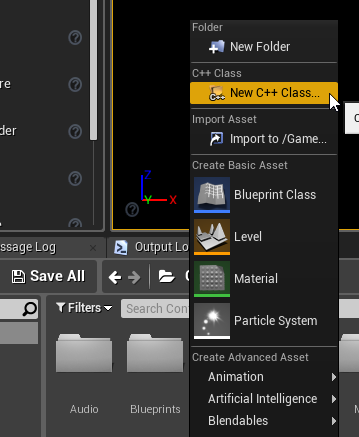
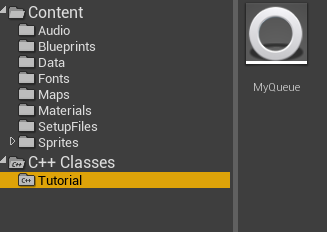
If we started with a blueprint only project we must to prepare the project to be able to use c++ code too. Right click on the content browser and select New C++ class…
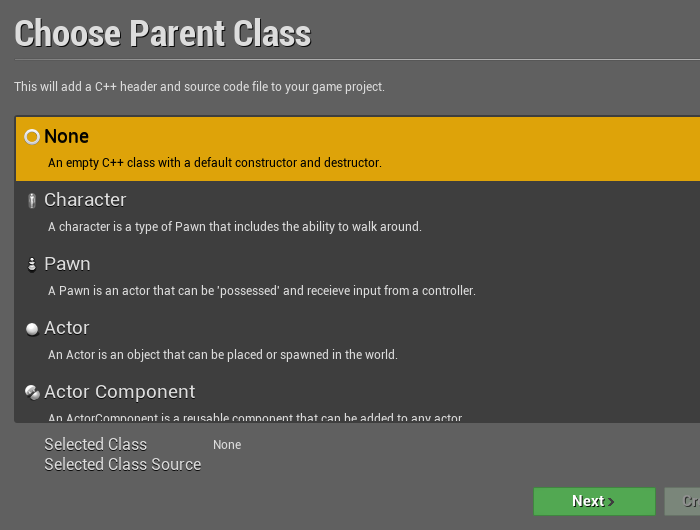
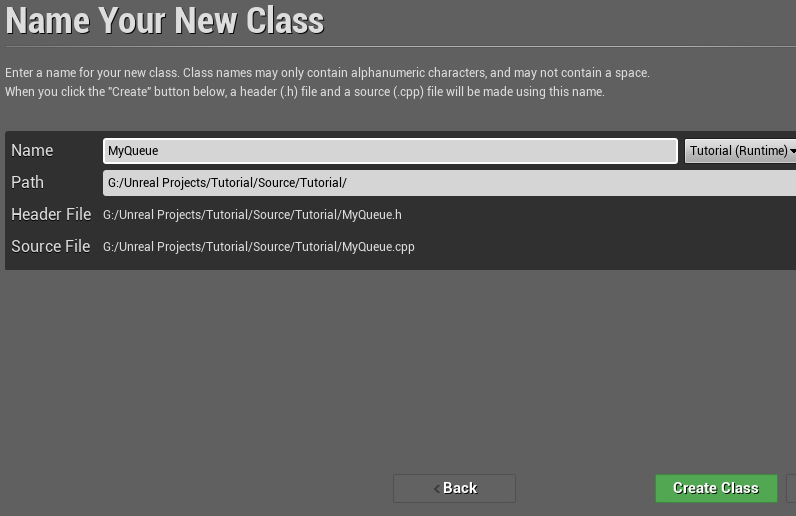
Choose None type and give an appropriate name to the class.
Now Visual Studio opens automatically. We can see two projects in the solution explorer the UE4 engine project and our game project, and inside this our new class.
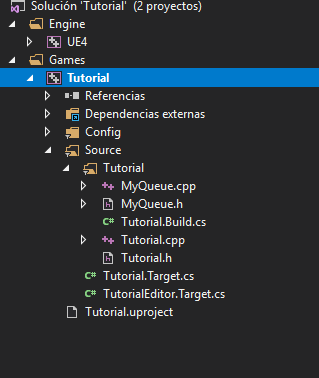
If we open the .h file we can see a basic declaration of our class
#pragma once
#include "CoreMinimal.h"
class TUTORIAL_API MyQueue
{
public:
	MyQueue();
	~MyQueue();
};
We need to exposes this class as an acceptable base class for creating Blueprints (Blueprintable) and as a type that can be used for variables in Blueprints (BlueprintType) using the UCLASS macro before the class declaration. Also, the GENERATED_BODY() macro must be placed at the very beginning of the class body, and the “ClassName.generated.h“(created automatically) must be included at the top of our class header file.
UCLASS(Blueprintable, BlueprintType)
Our queue will be an object so we need to set the parent class to UObject and change the name of the class to start with the letter ‘U’. Now the header class should look like this:
#pragma once
#include "Object.h"
#include "MyQueue.generated.h"

UCLASS(Blueprintable, BlueprintType)
class TUTORIAL_API UMyQueue :public UObject
{
	GENERATED_BODY()
private:
public:
};
The include to CoreMinimal.h can be removed.
We can create a variable to contain the class element and a wrapper implementation of their functions. We must use the UFUNCTION macro with the most suitable specifiers, for this example:
- BlueprintCallable: The function can be executed in a Blueprint graph
- BlueprintPure: The function does not affect the owning object in any way and can be executed in a Blueprint graph.
#pragma once
#include "Object.h"
#include "Queue.h"
#include "MyQueue.generated.h"

UCLASS(Blueprintable, BlueprintType)
class TUTORIAL_API UMyQueue :public UObject
{
	GENERATED_BODY()
private:
	TQueue<int32> _mainQueue;
public:

	UFUNCTION(BlueprintCallable, Category = "Function")
		bool Dequeue(int32& value);

	UFUNCTION(BlueprintCallable, Category = "Function")
		bool Enqueue(const int32& value);

	UFUNCTION(BlueprintCallable, Category = "Function")
		void Empty();

	UFUNCTION(BlueprintPure, Category = "Function")
		bool IsEmpty();

	UFUNCTION(BlueprintPure, Category = "Function")
		bool Peek(int32& value);
};
This declaration is to create a specific queue to store elements of type int32. If we wanted to do a more generic class we would need to create it as a Template class, unfortunately at this point the engine does not support templated UObjects :(.
Finally the .cpp file would look like this:
#include "MyQueue.h"

bool UMyQueue::Dequeue(int32& value)
{
	return _mainQueue.Dequeue(value);
}

bool UMyQueue::Enqueue(const int32& value)
{
	return _mainQueue.Enqueue(value);
}

void UMyQueue::Empty()
{
	_mainQueue.Empty();
}

bool UMyQueue::IsEmpty()
{
	return _mainQueue.IsEmpty();
}

bool UMyQueue::Peek(int32& value)
{
	return _mainQueue.Peek(value);
}
Now we can compile our game project and open the Unreal Editor to edit our game blueprint.
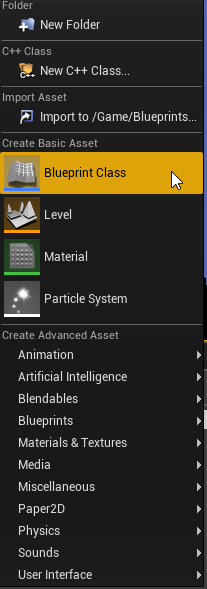
The first thing is create a Blueprint class of our C++ class.
Right click on the content browser a select Blueprint Class
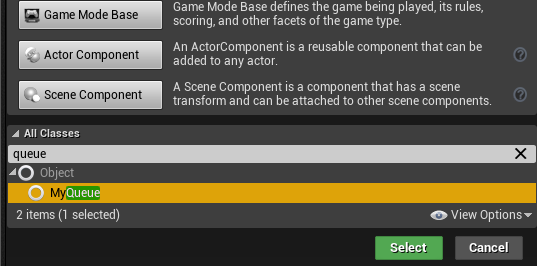
Now search for our queue class and create a blueprint
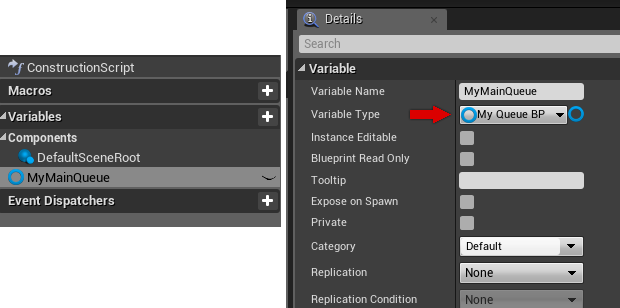
Now we can add in our blueprints variables with the type of our wrapper container. Don’t forget to select the BP class in the Variable type field.
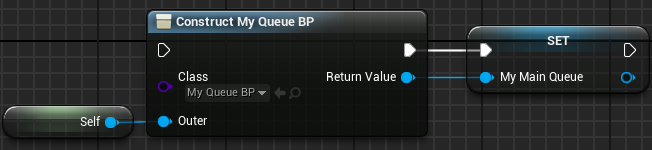
Before to be able to use the queue object we need to initialize it with the Construct Object from Class node
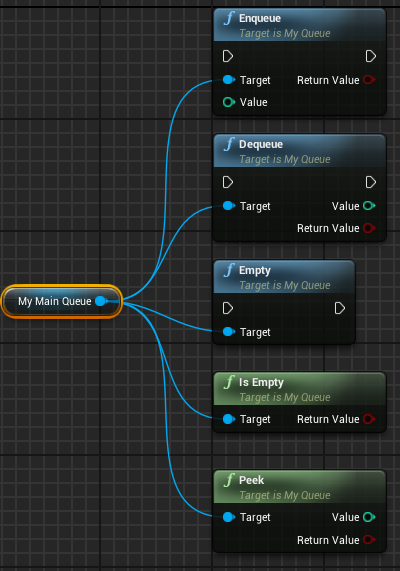
Now you can use the queue functions in the current blueprint
This method can be used for other UE4 containers and C++ standard containers, or other classes. We only need to change the main private element of the class and define the necessary wrapper functions to operate with it.
You may also like:


Support this blog!
For the past year we have been dedicating more of our time to the creation of tutorials, mainly about game development. If you think these posts have either helped or inspired you, please consider supporting this blog. Thank you so much for your contribution!


Where do I find MyQueue.generated.h?
scrap my previous question, i fixed it thanks to this post: https://answers.unrealengine.com/questions/810626/vs-cannot-find-generatedh-files.html?sort=oldest
I do have another problem though,
in this line it claims there is a problem with the :
class TUTORIAL_API UMyQueue :public UObject
In Errorlist it sais multiple times
E0276 name followed by ‘::’ must be a class or namespace name
Happen to know what I must do to fix this?
You need to change the TUTORIAL_API macro with your project macro, normally is the project name appended with _API