We have received several requests for the outline effect tutorials and we have decided to open a new tutorial talking about two of this requests: Opaque zones and distance effect.
Part 1: Outline effect
Part 2: Occlusion, colors and glow
Part 3: Opaque zones
Part 4: Depth limit
Opaque zones
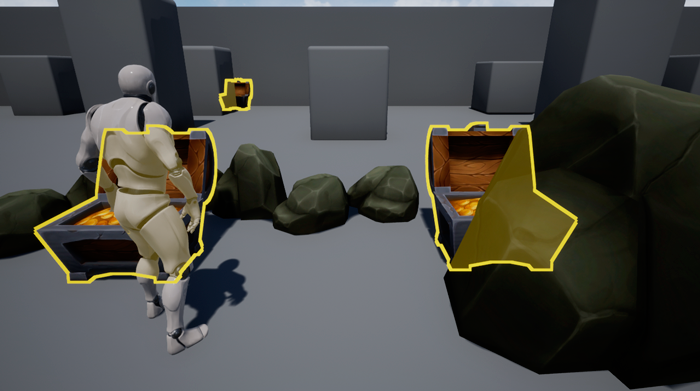
We can define opaque zones using the custom stencil values, this will be useful if we want to remove the outline effect over some surfaces, like our character.
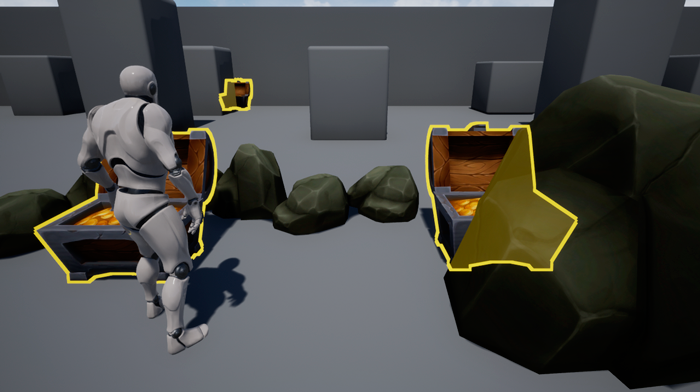
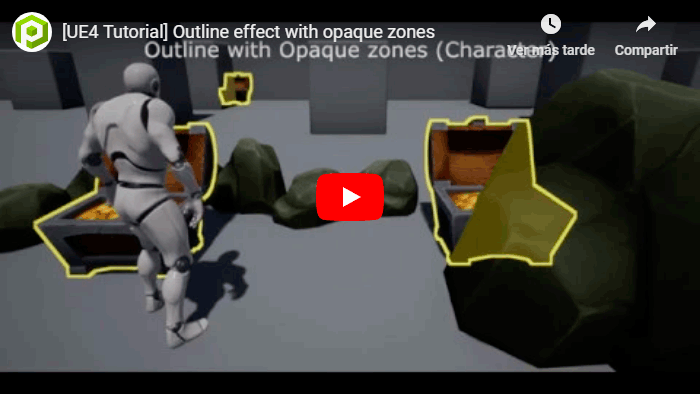
As we can see in this image the outline of the chest is shown over our character
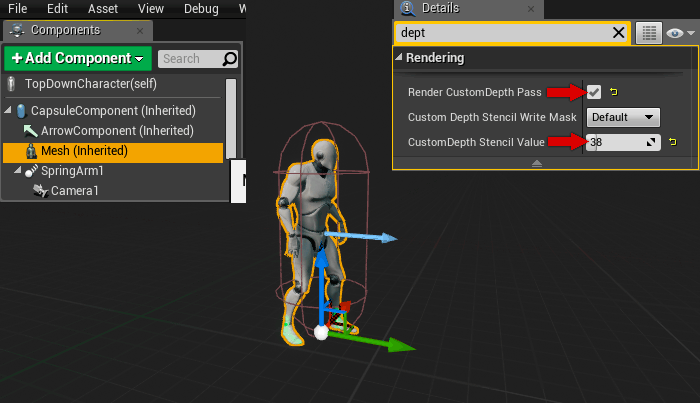
To remove this effect over our character we need to define the Custom Stencil of our opaque objects to an specific value. For our example we have chosen a value of 38. To apply this value to the default UE4 character we need to search the mannequin Mesh and check the Enable Custom Depth and set its value to 38.
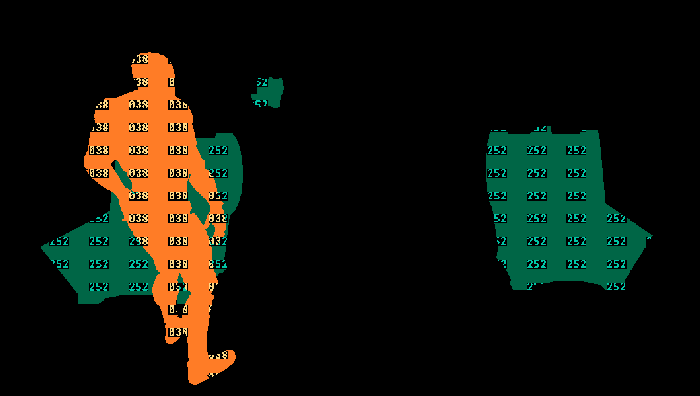
We can see the new stencil value using the Buffer Visualization > Custom Stencil of the editor
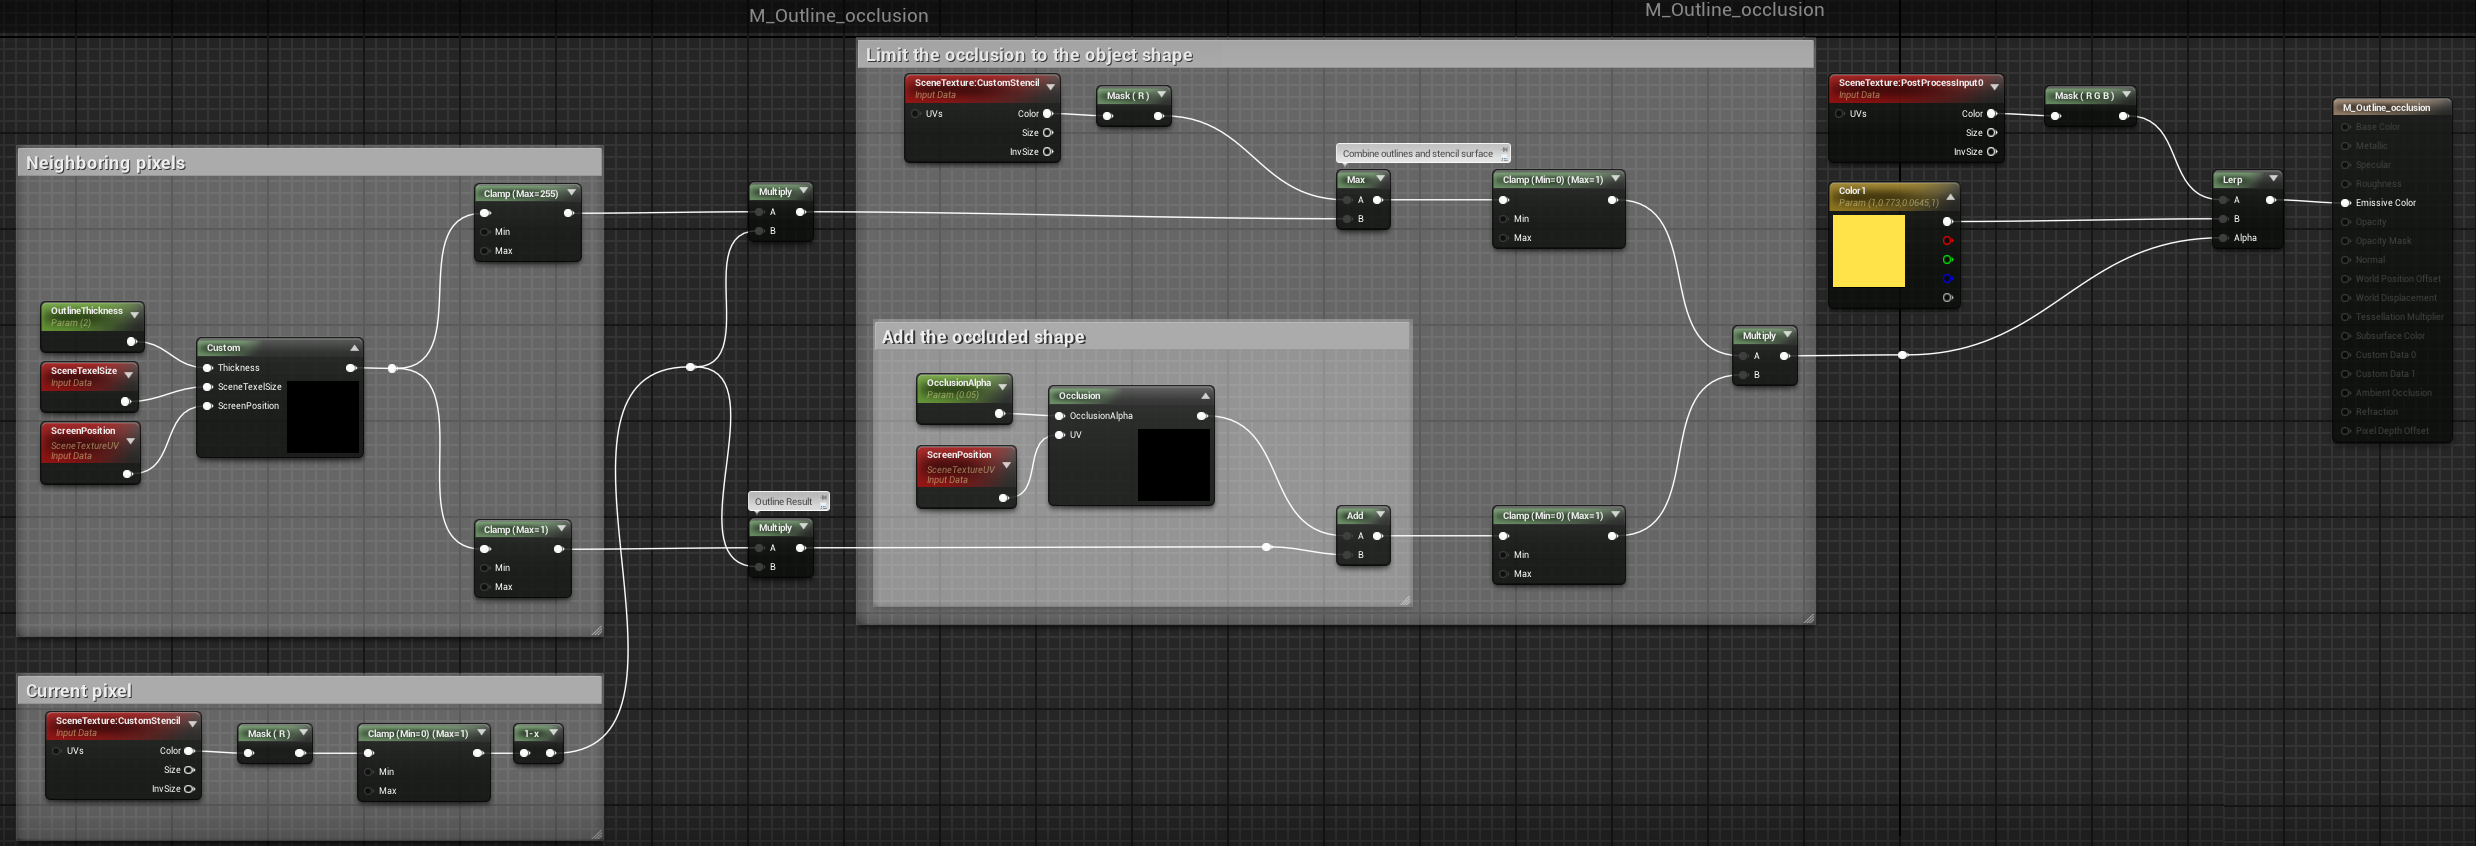
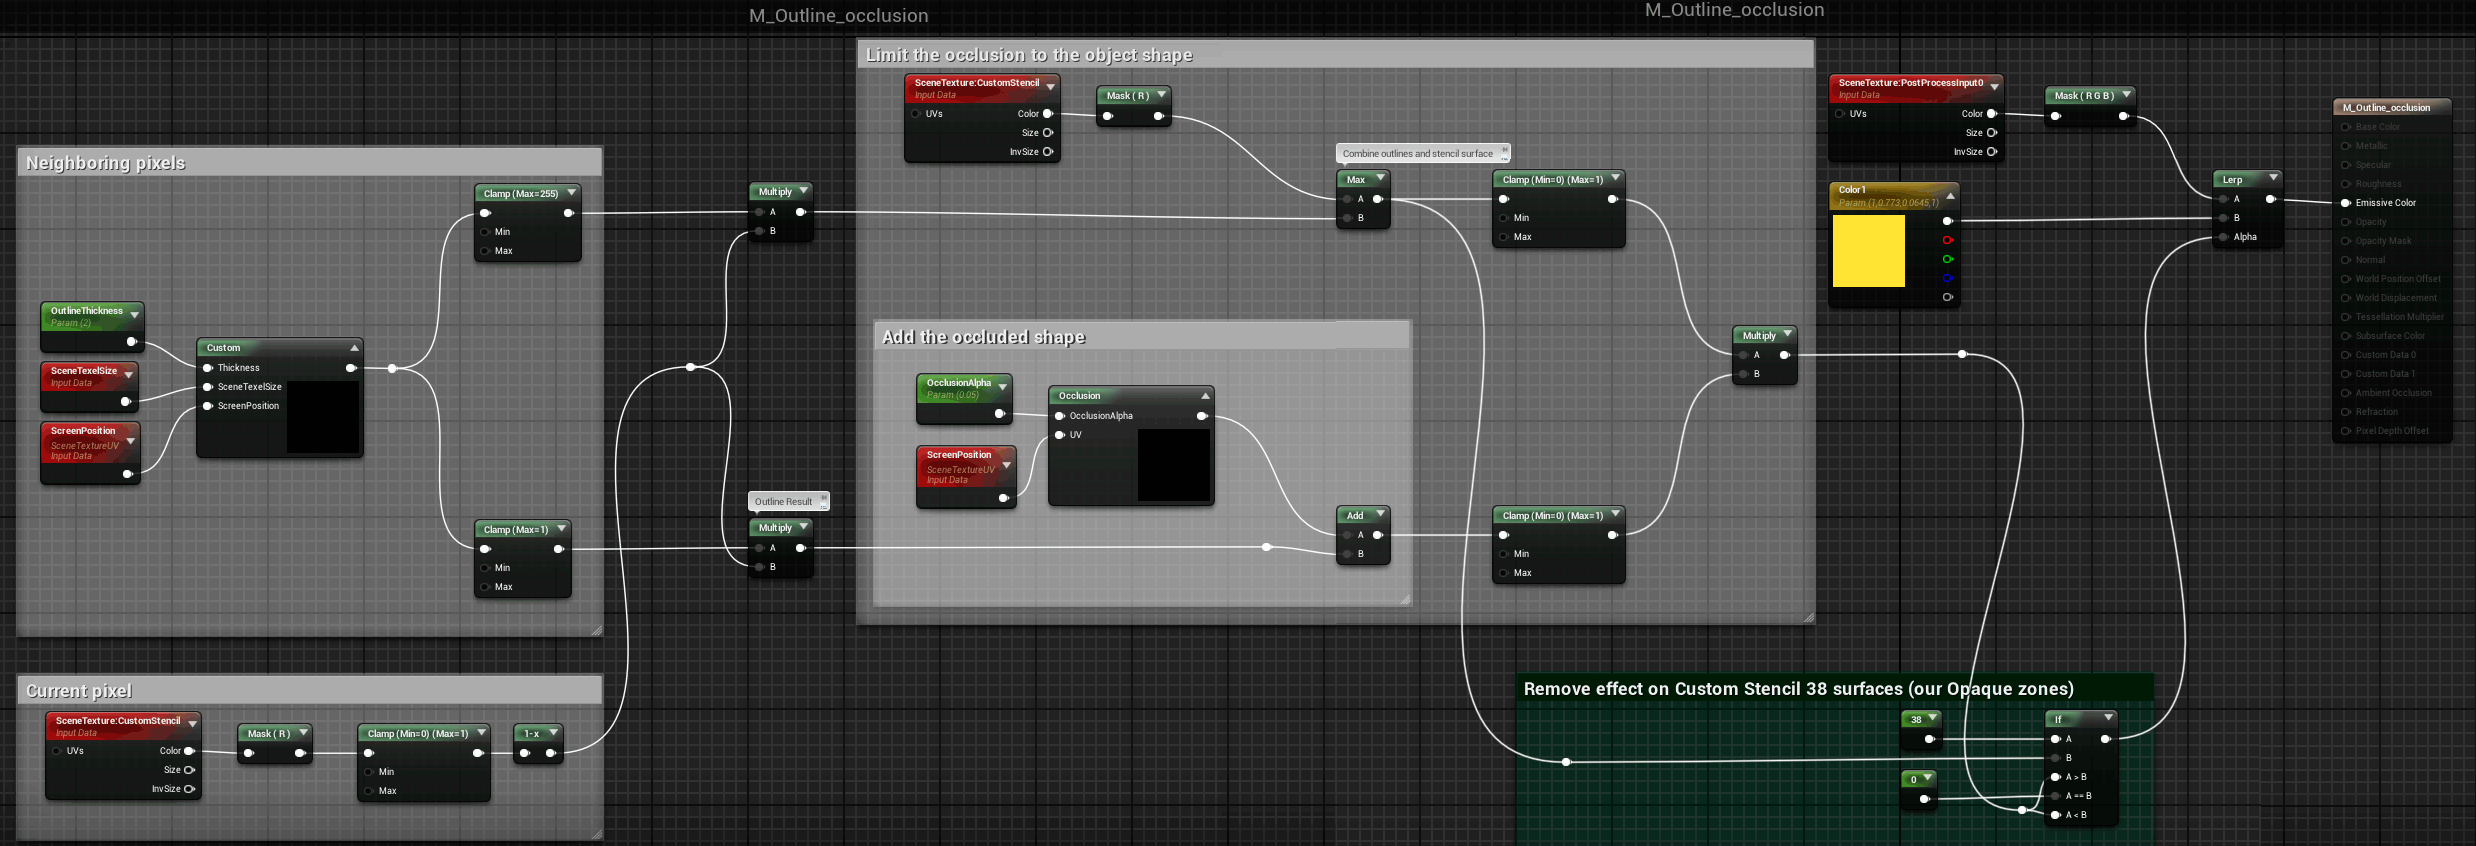
Now we need to modify the outline materials. One of our options is to modify the alpha value of the final outline effect with an if-condition node

If the value of the B input of the node is equals to 38 we will set the alpha value to 0 to disable the outline color.
The B input is the Custom Stencil value, we need to take both surfaces the outline and the object surface
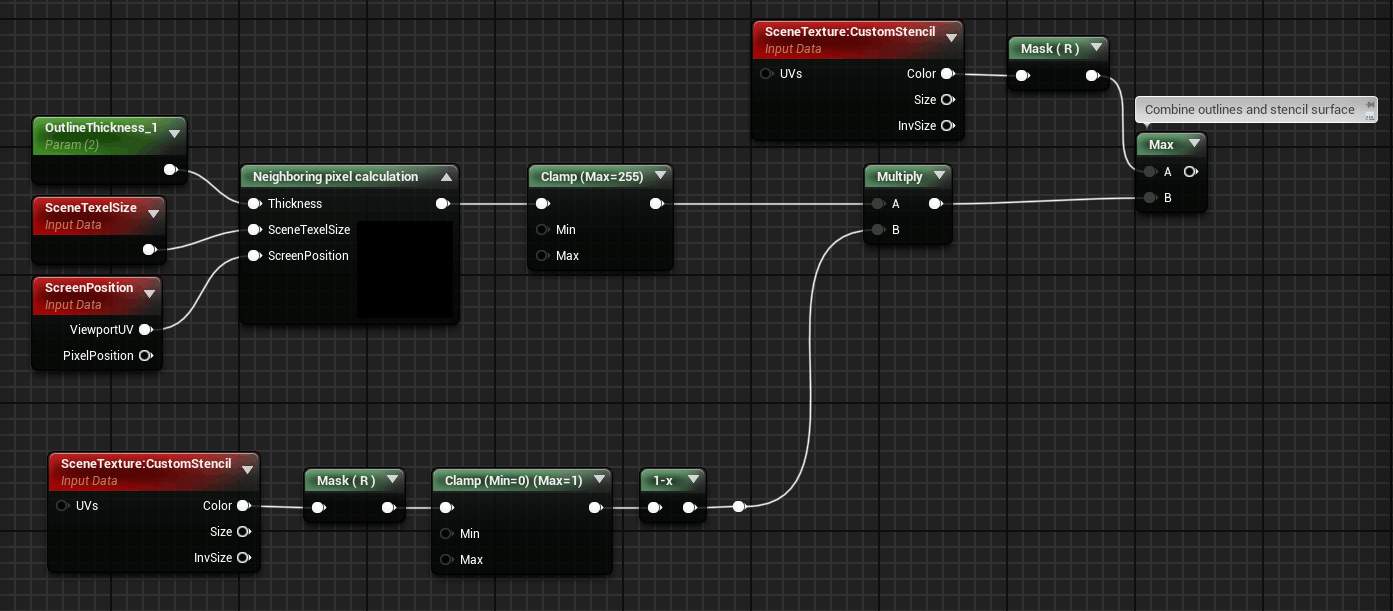
Now we can search this input in our materials and connect it to the B input parameter
Finally we can see the opaque result over our character
Tutorial files
You may also like:

Support this blog!
For the past year we have been dedicating more of our time to the creation of tutorials, mainly about game development. If you think these posts have either helped or inspired you, please consider supporting this blog. Thank you so much for your contribution!


