In this part we are going to use an alternative method, instead of use a clone of our character we can use a second camera attached to the character. It has advantages and disadvantages, let us see both with more detail.
Split screen transition
Cylinder transition
Character mask
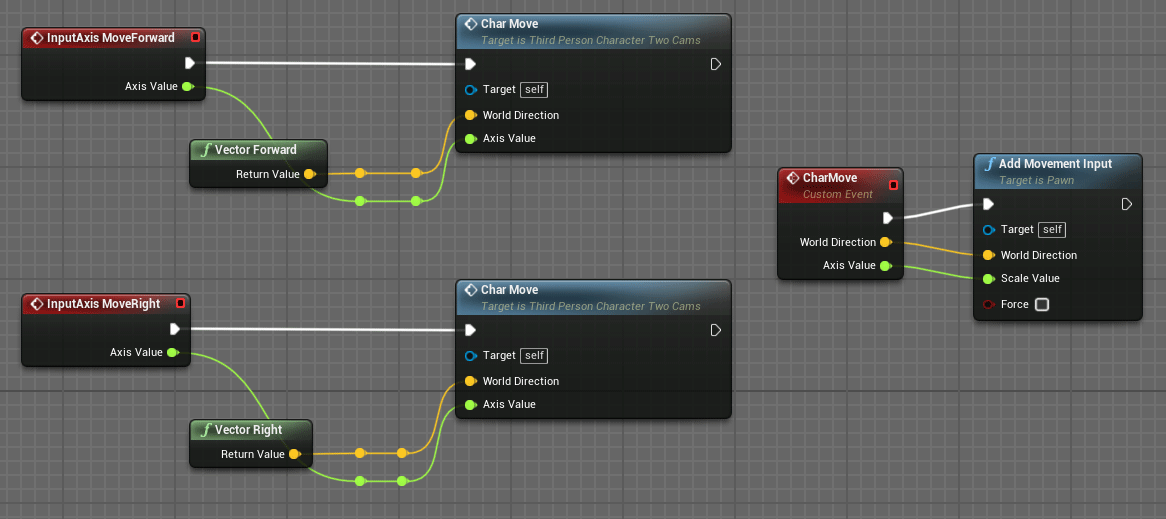
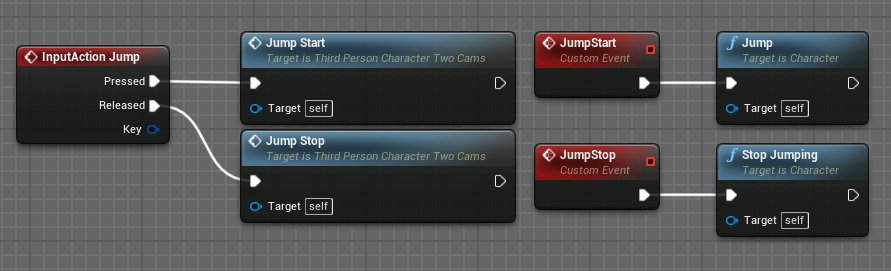
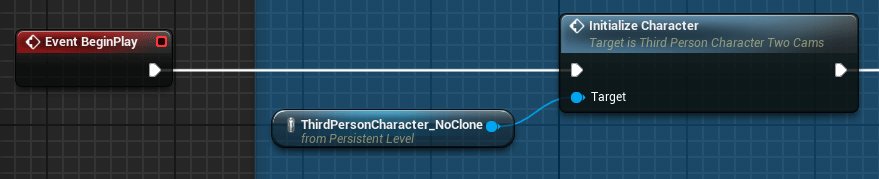
The first task is to modify our third person character to remove all the code related movement clone replication. We can remove the AI Controller too, this character should never lose the possession.
Now we can add the second Scene Capture component to the same Arm rig of the other Scene Capture. We can set the location of this second Scene Capture inside the destination room at his point. The translation vector used to offset the second camera must be used when the transition is over to teleport the character to the destination room.
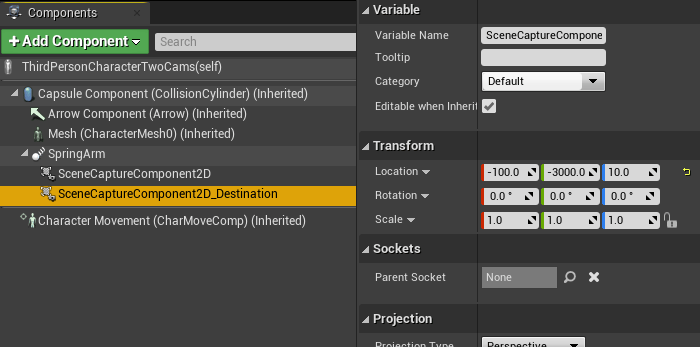
This camera also needs their own Render Target 2D. This settings are the same than the other camera.
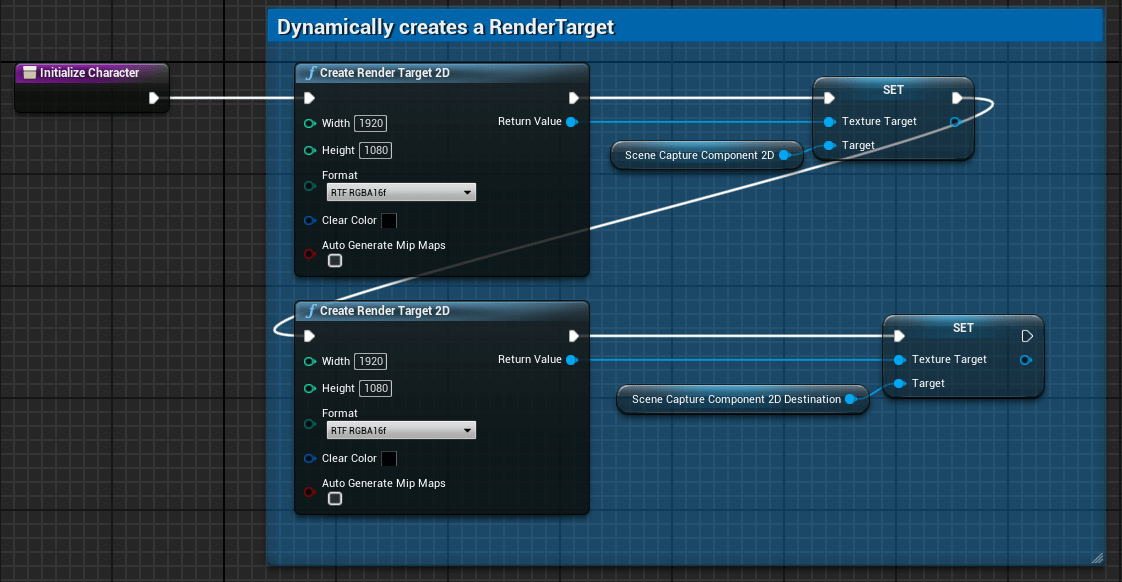
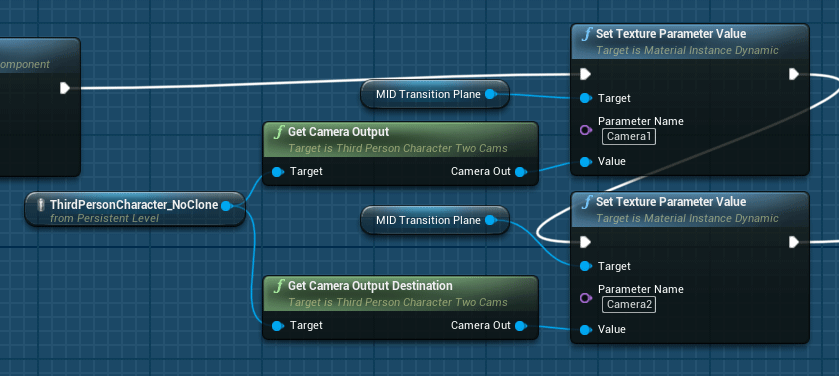
The initialization of the map components now is more simple with only one character.
And the material takes both render target from the same character, one of each Scene Capture.
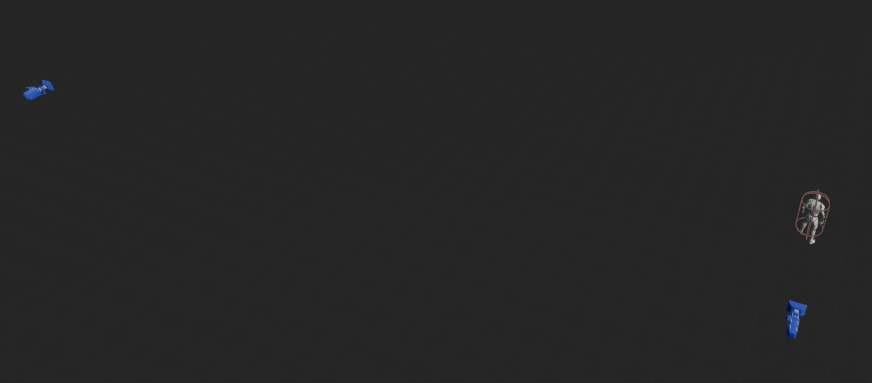
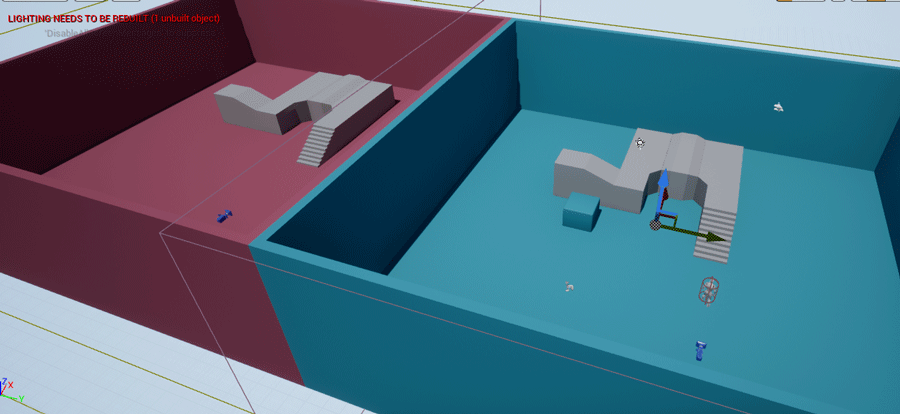
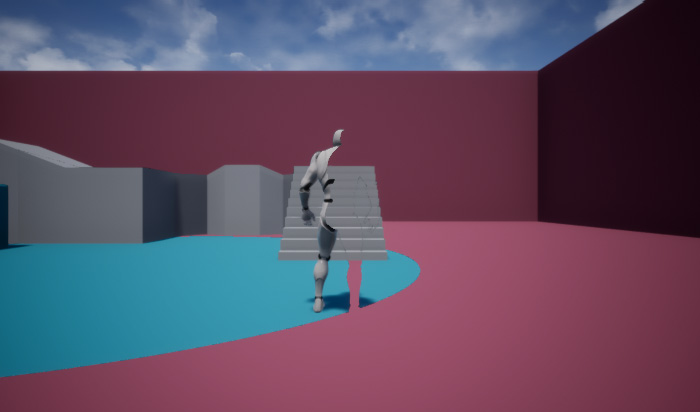
Now we can see the first problem in the bound of the transition. Because we don’t have a character in the destination position when the transition reach that position we see an empty zone in the character position.
The first option to fix this problem is to generate a mask with the shape of the character. The fastest option is to assign a Custom Stencil value to the mesh of the character and modify the material to include this shape into the final composition.
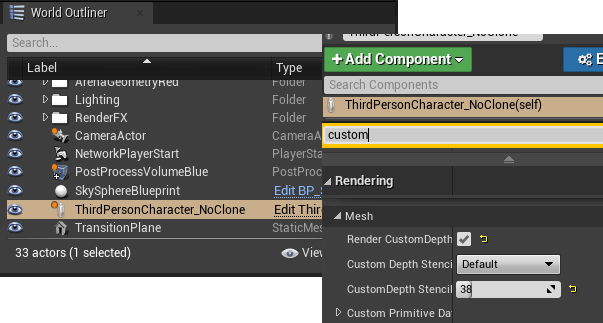
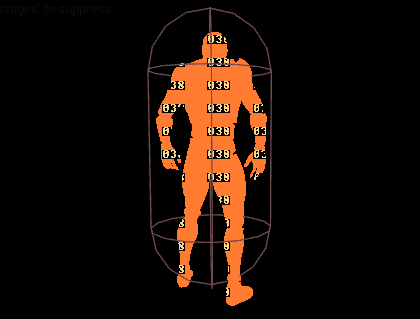
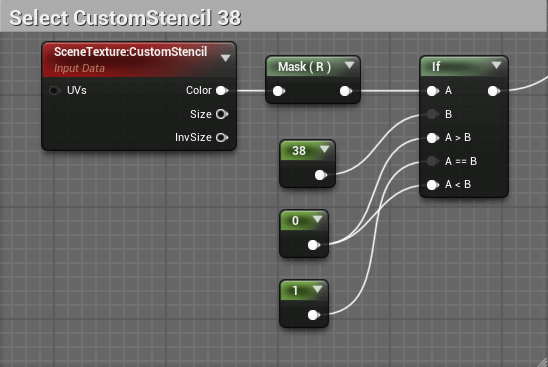
We have enabled the Render of the Custom Depth and set a value of 38 to the Custom Depth Stencil.
To be able to see and use this value into a material we need to activate this buffer changing the Custom Depth-Stencil Pass option to Enable with Stencil in the Rendering > Postprocessing options.

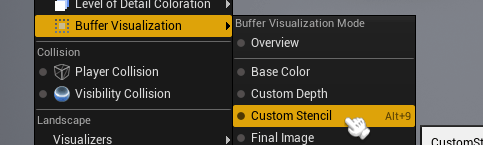
We can see this buffer in the editor viewport switching the View Mode to Buffer Visualization > Custom Stencil, this can be useful for debugging.
In our material we need to add a Scene Texture node and use the Dropdown box to select Custom Stencil
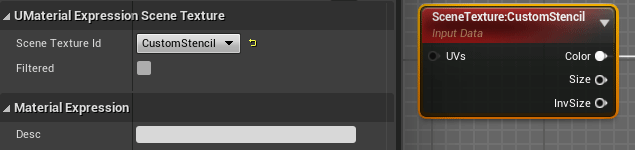
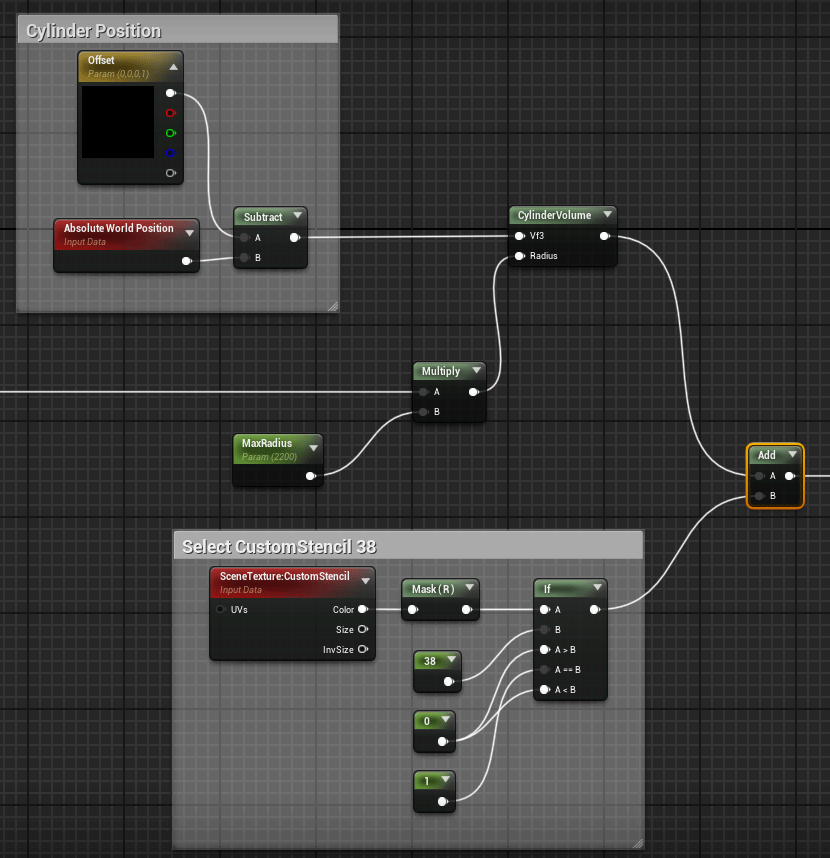
To do the mask, we can use a conditional clause to return a value of 1 when the custom stencil is 38 and 0 in any other case. We can extract the value of any of the components of the Custom Stencil Color, all the components of this color has the same value.
This mask needs to be added to the transition mask, for our example the cylinder mask.
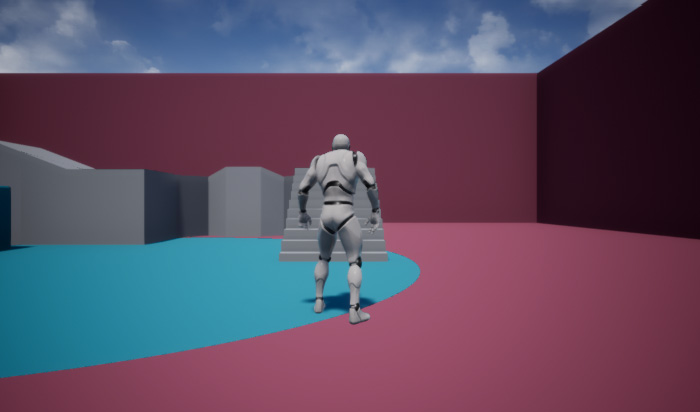
This has been the last modification needed for this approach to not use a character clone. And now we can see the full body of the character during all the transition.
At the end of the transition the character can be teleported to the destination room. But as we can see, we have now a problem with the shadow of the character during the transition in the destination section.

We are taking the shape of the character using the Custom Stencil buffer, but this mask can’t include the shadow. We can’t extract a shadow independent of the surface where it is projected. This problem can be found too with reflections, in general all effects that must be projected in a surface.
During the transition we have the character physically into the origin room so we can have only the shadow of the character projected in that room. The destination room has no character so we can’t have any projected shadow in their surface.
In conclusion, using only two Scene Capture we can obtain a decent transition effect under specific conditions, but using a clone we can achieve a better effect at the cost of using more resources to duplicate the character and their movements, visual effects…
Tutorial files
You may also like:
Support this blog!
For the past year we have been dedicating more of our time to the creation of tutorials, mainly about game development. If you think these posts have either helped or inspired you, please consider supporting this blog. Thank you so much for your contribution!


